


APIs have become an integral part of modern software development, enabling different systems to communicate with each other seamlessly. However, building and deploying an API can be a daunting task, especially for developers new to the process. In this article, we will explore how to build and deploy a simple CRUD(Create, Read, Update, and Delete) API with Go and PipeOps. We will walk you through the steps required to create a simple API, including setting up a development environment, defining endpoints, and deploying your API on PipeOps. By the end of this article, you will have a solid understanding of how to create and deploy a robust API using these powerful tools.
What do you need to get started?
Before we get started, here's what you'll need:
Basic knowledge of Go programming language
Basic understanding of REST APIs
A PipeOps account
Setting up the environment
First, create a new directory for your project and initialize a new Go module inside it. Open your terminal and run the following commands:
// Create a new project folder named 'crudapi'
$ mkdir crudapi

// Move into the 'crudapi' directory to begin working on our project
$ cd crudapi

// Initialize a new Go module
$ go mod init crudapi
Building the CRUD API
Now that our development environment is set up, we can start building our simple CRUD API using Go and Gin without a database. Here's how to do it:
- Firstly we need to install the Gin web framework using the following command
$ go get -u github.com/gin-gonic/gin
Create two Go files in your project directory called
main.goandmodel.go
In your
model.gofile add the code below:
package main

type Task struct {
    ID          string `json:"id"`
    Title       string `json:"title"`
    Description string `json:"description"`
    Completed   bool   `json:"completed"`
}

type Tasks []Task
In this model, we define a Task struct with four fields: ID, Title, Description, and Completed. We also define a Tasks type, which is just a slice of Task objects.
4: Define the API Routes in your main.go file
package main

import (
    "net/http"
    "log"
    "os"

    "github.com/gin-gonic/gin"
)

// Create a slice to store the tasks
var tasks Tasks

func main() {
    // Create a new router with default middleware
    router := gin.Default()

    // Set up routes
    router.GET("/tasks", getTasks)           // Get all tasks
    router.GET("/tasks/:id", getTask)        // Get a specific task by ID
    router.POST("/tasks", createTask)        // Create a new task
    router.PUT("/tasks/:id", updateTask)     // Update a task by ID
    router.DELETE("/tasks/:id", deleteTask)  // Delete a task by ID

    // Start the server on port 8080 or production port
    port := os.Getenv("PORT")
    if port == "" {
        port = "8080"
    }
    if err := router.Run(":" + port); err != nil {
        log.Panicf("error: %s", err)
    }
}

// Get all tasks
func getTasks(c *gin.Context) {
    c.JSON(http.StatusOK, tasks)
}

// Get a specific task by ID
func getTask(c *gin.Context) {
    id := c.Param("id")
    for _, task := range tasks {
        if task.ID == id {
            c.JSON(http.StatusOK, task)
            return
        }
    }
    c.JSON(http.StatusNotFound, gin.H{"error": "Task not found"})
}

// Create a new task
func createTask(c *gin.Context) {
    var task Task
    if err := c.BindJSON(&task); err != nil {
        c.JSON(http.StatusBadRequest, gin.H{"error": err.Error()})
        return
    }

    tasks = append(tasks, task)
    c.JSON(http.StatusCreated, task)
}

// Update a task by ID
func updateTask(c *gin.Context) {
    id := c.Param("id")
    var updatedTask Task
    if err := c.BindJSON(&updatedTask); err != nil {
        c.JSON(http.StatusBadRequest, gin.H{"error": err.Error()})
        return
    }

    for i, task := range tasks {
        if task.ID == id {
            updatedTask.ID = task.ID
            tasks[i] = updatedTask
            c.JSON(http.StatusOK, updatedTask)
            return
        }
    }
    c.JSON(http.StatusNotFound, gin.H{"error": "Task not found"})
}

// Delete a task by ID
func deleteTask(c *gin.Context) {
    id := c.Param("id")
    for i, task := range tasks {
        if task.ID == id {
            tasks = append(tasks[:i], tasks[i+1:]...)
            c.JSON(http.StatusNoContent, nil)
            return
        }
    }
    c.JSON(http.StatusNotFound, gin.H{"error": "Task not found"})
}
In the above code, we define five API routes:
GET /tasks: Returns a list of all tasks.GET /tasks/:id: Returns a specific task by ID.POST /tasks: Creates a new task.PUT /tasks/:id: Updates an existing task by ID.DELETE /tasks/:id: Deletes a task by ID.
For each route, we define a handler function that processes the incoming request and returns a response.
- Test the API: To test the API, run the following command in your terminal:
$ go run main.go
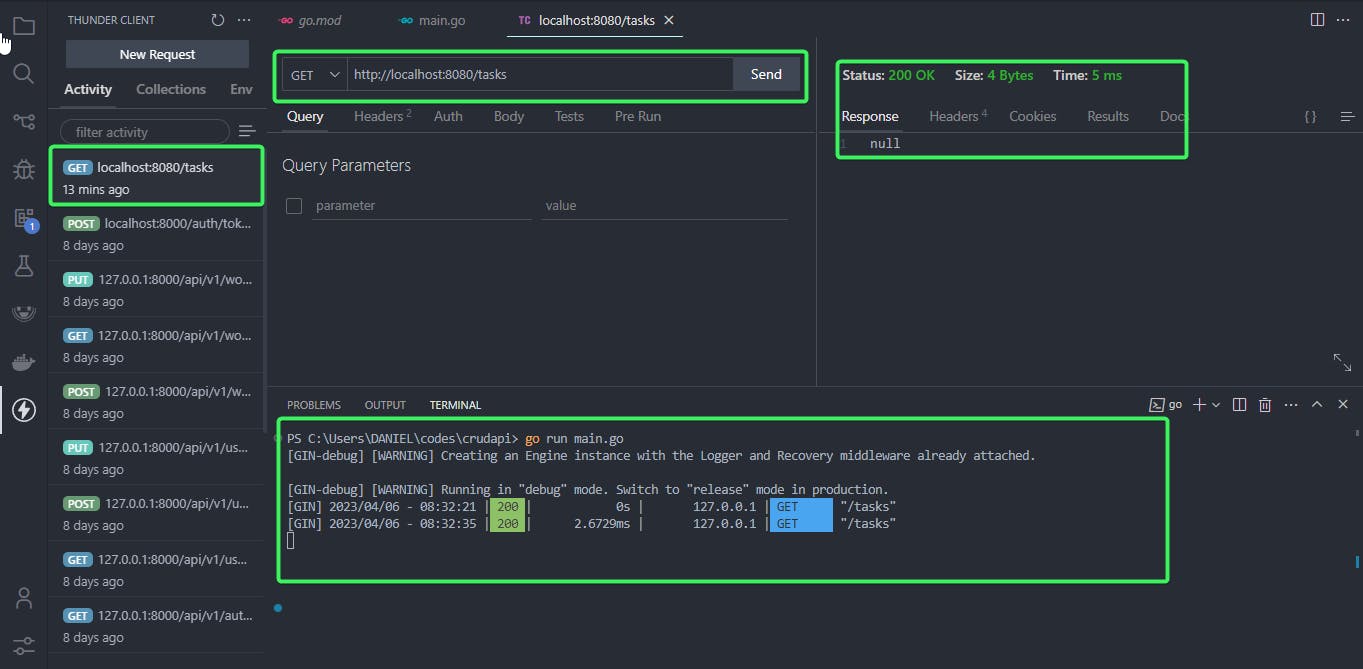
This will start the API server on http://localhost:8080. You can use tools like Curl, Postman, and Thunder Client to test the API.
Here are some example requests using Thunder Client:
Deploying the API with PipeOps
Now that we've built our API, it's time to deploy it to the cloud so that it can run 24/7. This is where PipeOps comes in.
First, we need to create a new web project on Pipeops:

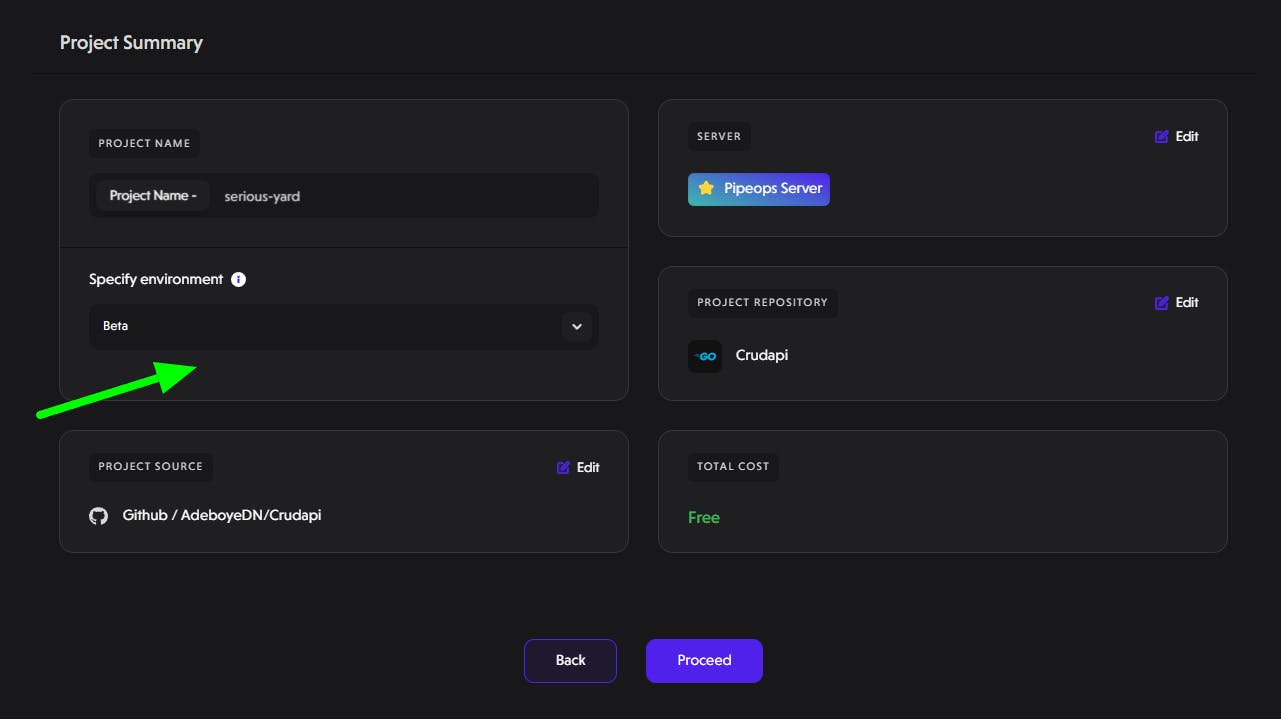
you need to select Github as your repository source. After that, you can select your account name to access the list of repositories that you own. From there, select the crudapi repository to work with after that click on proceed.

You will see the image below. You can also update your environment from beta to production, but for this case, we will use Beta.
After clicking the "Proceed" button, you will be redirected to the project build settings page. Here, you can select the framework and the build method that you prefer. Pipeops also offers a feature where you can add your project environment variables to customize your deployment.
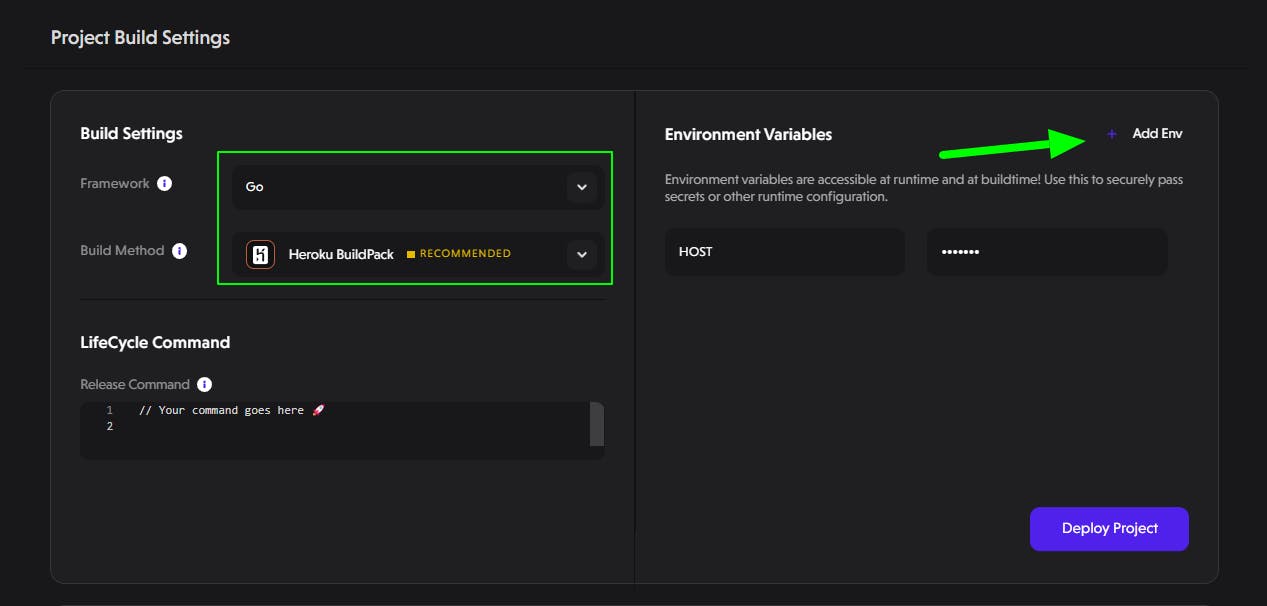
💡 To use the Heroku Buildpack as your build method, you'll need to create a Procfile inside your crudapi project.

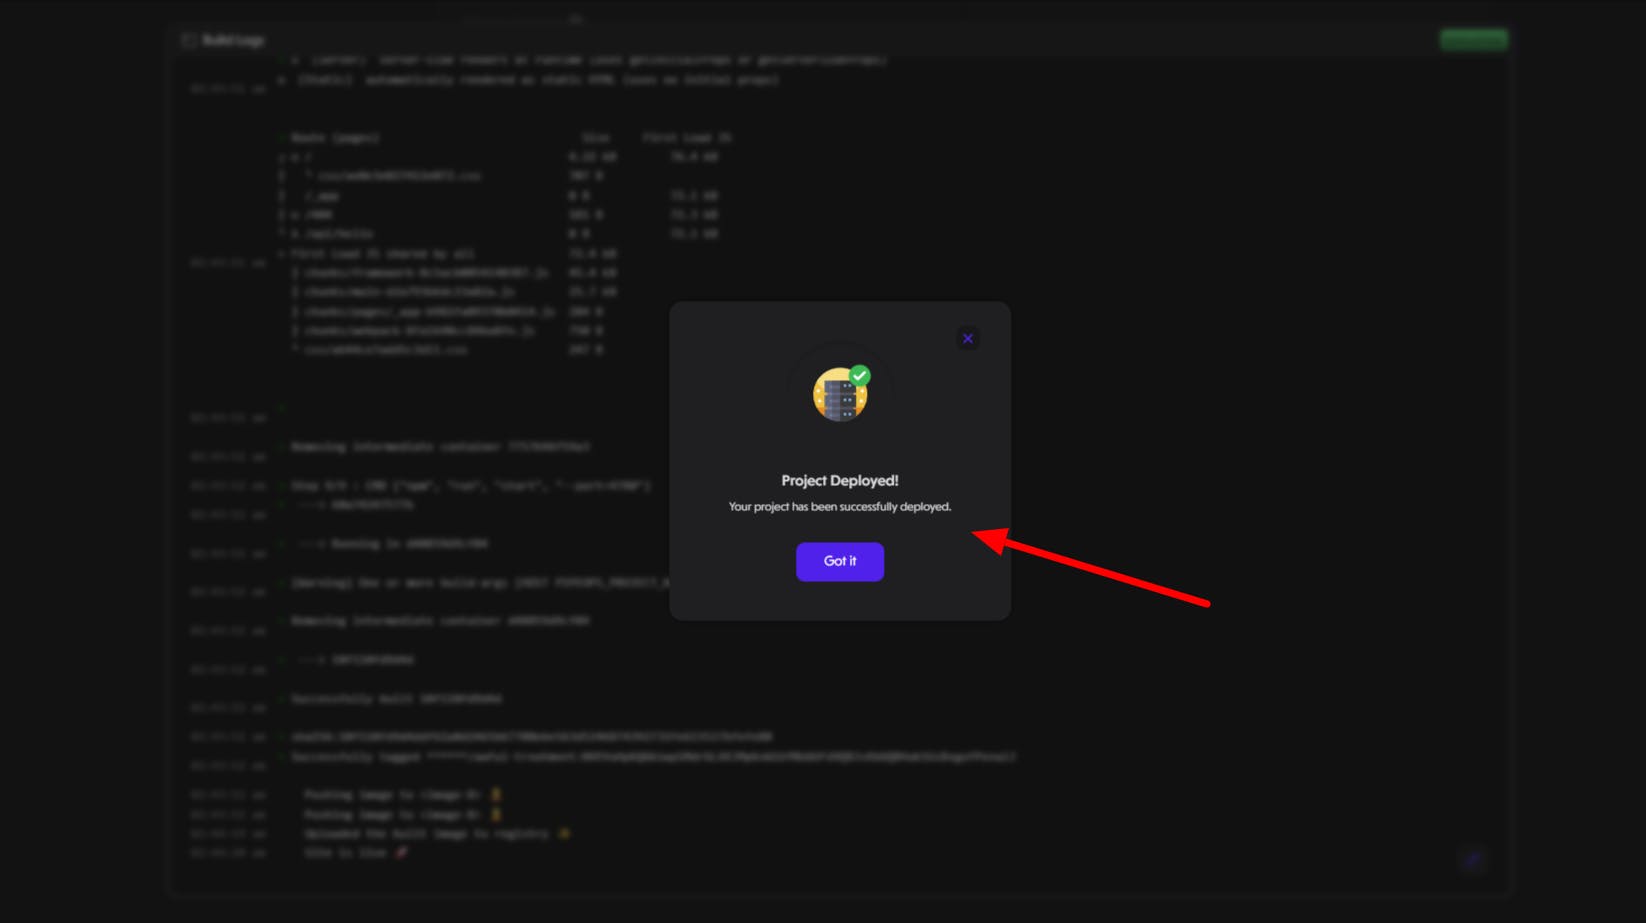
Click on the "Deploy Project" button to deploy your crudapi project. Once the deployment is complete, you will see a success message as shown in the image below.
Test the API using Thunder Client:

Conclusion
In conclusion, building and deploying a CRUD API with Go and PipeOps is a relatively straightforward process that even new developers can learn. We have learned the basics of setting up our development environment, defining endpoints, and deploying the API on PipeOps. Using the Gin web framework, we have created an API with five endpoints, including GET, POST, PUT, and DELETE methods. Go provides us with a robust and fast language, and PipeOps simplifies deployment by automating the pipeline process. This article has provided you with the foundational knowledge you need to create and deploy robust APIs with Go and PipeOps, and with continued practice and exploration, you can take your API development to the next level.